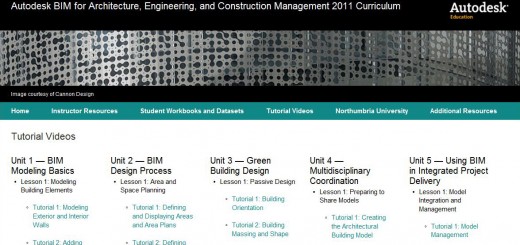
BIM Curriculum Unit 1 – BIM Basics
Lesson 1: Modeling Building Elements
In this lesson, students explore basics techniques for using the Autodesk® Revit® Architecture software to create a building information model of a simple structure—a one-story residence. They will learn how to:
- Model exterior and interior walls.
- Add doors and windows to the walls.
- Create simple floor and roof elements.
- View the completed building model.
Lesson 2: Building Envelope
In this lesson, students will explore how to use the Autodesk® Revit® Architecture software to place and work with the elements that compose a building envelope. They will learn how to:
- Model wall types and design features.
- Create new wall types and edit their structure.
- Place and adjust the properties of doors, windows, and wall openings.
- Create roofs with different shapes and slopes.
Lesson 3: Curtain Systems
In this lesson, students explore techniques for working with curtain walls and the elements that define a complete curtain system—panels, grids, and mullions. They will learn how to:
- Specify the layout and spacing of the curtain wall elements for new curtain wall systems and how to modify existing ones.
- Explore the design options available for customizing grid patterns, panel materials, and panel types.
Lesson 4: Interiors and Circulation
In this lesson, students explore techniques for creating several types of common circulation elements for multistory buildings, including stairs, elevators, and ramps. They will learn how to:
- Create simple examples demonstrating circulation techniques.
- Edit and customize elements as needed to model more complex conditions.
- Add railings at floor edges and around floor openings.
Lesson 5: Fixtures, Fittings, and Furniture
In this lesson, students explore techniques for creating and adapting components to model fixtures, fittings, and furniture. They will learn how to:
- Create in-place components to model project-specific elements and geometries.
- Adapt existing component families to meet their needs by adding and removing forms as well as assigning materials.
- Create new component families and add parameters that enable them to dynamically resize the components and change their materials.
Lesson 6: Views and Visualization
In this lesson, students explore the tools available in the Autodesk® Revit® software to create several types of common project views and specify the information that appears in them. Students will learn how to:
- Create 2D views of their building model, such as plans, elevations, and sections—creating new views from scratch and duplicating existing views.
- Create 3D views by duplicating and editing the default 3D orthographic view.
- Customize the information presented in those views.
Lesson 7: Materials, Lighting, and Rendering
In this lesson, students explore how to use Autodesk® Revit® software to adjust the appearance of the building model elements that appear in their 2D and 3D views. They will learn how to:
- Assign materials to model elements through object styles, type properties, and instance properties.
- Adjust the render appearance of materials to display realistic views.
- Render views to create realistic views in daylight and artificial lighting conditions.